Start Your Crypto Journey with Trezor.io/Start® — The Official Wallet Setup Site
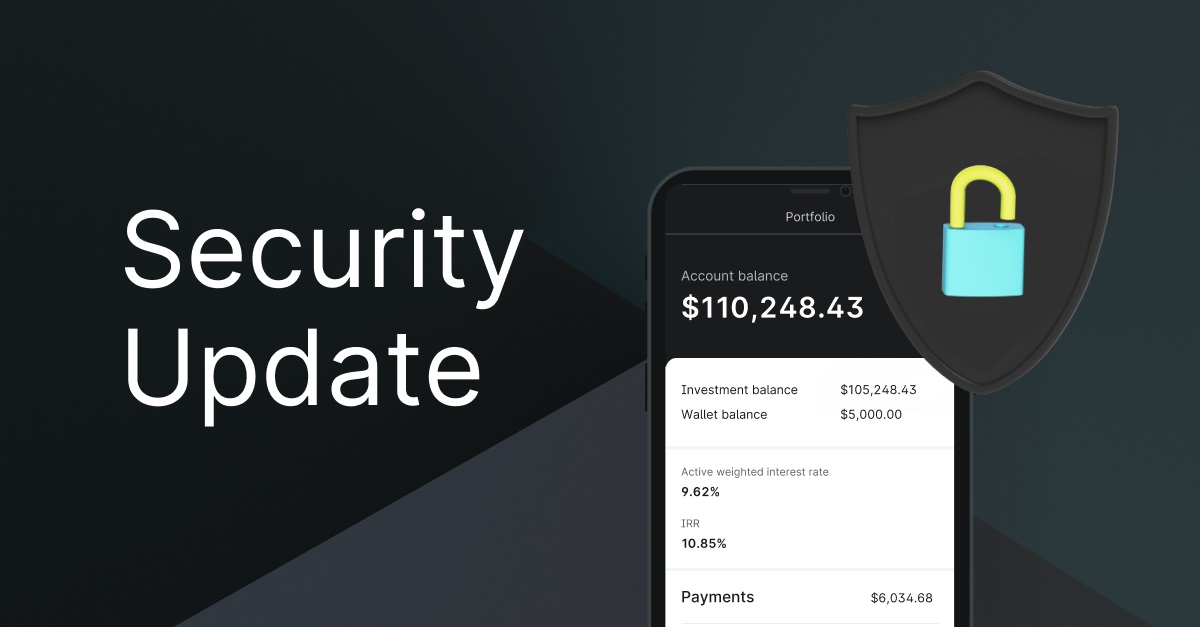
In today’s digital age, safeguarding your cryptocurrency is no longer optional — it’s essential. Whether you're a beginner or a seasoned investor, choosing the right wallet can make or break your crypto experience. Trezor®, a globally trusted hardware wallet, offers you complete control and top-tier security for your assets. And it all begins at the official setup portal: Trezor.io/Start®.
Below, we’ll guide you through what makes Trezor® the ideal wallet and how to use Trezor.io/Start® to set up your device securely.
Why Choose Trezor® to Start Your Crypto Journey?
Trezor® hardware wallets (like the Trezor Model T and Trezor One) are among the most secure and user-friendly options on the market. Unlike software wallets, which are vulnerable to malware and hacking, Trezor® stores your private keys offline — away from internet threats.
🛡️ Key benefits of Trezor®:
-
Offline, cold storage security
-
Open-source and community-audited firmware
-
PIN protection, recovery seed, and optional passphrase
-
Support for 1,000+ cryptocurrencies including Bitcoin, Ethereum, and ERC-20 tokens
Compare Trezor wallet models: trezor.io/compare
Begin Setup with Trezor.io/Start® — The Official Portal
The only official and safe way to set up your Trezor® wallet is through the verified URL: https://trezor.io/start. This ensures you aren’t falling prey to phishing websites or counterfeit tools.
Here's how to set up your wallet securely:
1. Connect Your Device
Unbox your Trezor Model T or Trezor One and connect it to your desktop or laptop using the USB cable provided. Head to Trezor.io/Start in your browser.
🔒 Important: Always verify that the URL begins with https:// to avoid fraudulent sites.
2. Install Trezor Suite
Once on the start page, you’ll be prompted to download the Trezor Suite — the official app for desktop crypto management. Trezor Suite is available for Windows, macOS, and Linux.
Download directly from: trezor.io/trezor-suite
Trezor Suite allows you to send/receive crypto, monitor your portfolio, and access advanced settings in a secure, user-friendly environment.
3. Update Firmware (If Needed)
The software will check your device’s firmware and prompt an update if necessary. Updating ensures that your wallet has the latest security enhancements.
🚫 Never disconnect your device during firmware installation.
4. Create a New Wallet
Click “Create New Wallet” to generate a unique recovery seed — your 12- or 24-word backup phrase. This seed is crucial for restoring access if your wallet is lost or damaged.
📝 Write it down and store it securely offline. Learn how to protect your recovery seed: trezor.io/learn/a/recovery-seed
5. Set a PIN
Next, set up a PIN code for your Trezor device. This adds a physical security layer, protecting the wallet even if it falls into the wrong hands.
6. Add Cryptocurrencies
You're now ready to add crypto accounts! Trezor Suite supports Bitcoin, Ethereum, Litecoin, Cardano, and many more. You can also manage ERC-20 tokens with ease.
Explore supported coins: trezor.io/coins
Final Security Tips
-
Always access your wallet through Trezor.io/Start®
-
Keep your recovery seed in a safe, offline location
-
Regularly update firmware and software
-
Avoid third-party tools unless officially endorsed
Conclusion
Starting your crypto journey with Trezor.io/Start® ensures that your digital assets are protected from day one. With a Trezor® hardware wallet, you gain unmatched security, total ownership, and peace of mind.
Get started today: https://trezor.io/start
And explore educational resources at: trezor.io/learn